How to Set up Web Analytics for your React Website using Google Analytics and Tag Manager
A Step-by-Step Guide to monitoring user activity and Improving the Performance of your Website

Hi there, I am a Software Engineer passionate about exploring web technologies, building solutions and sharing knowledge.
Introduction
Recently, I had to monitor user activity on a portfolio website I built with React. I researched and found many useful platforms online that offered web analytics services but decided to opt for Google Analytics because it perfectly served the purpose I needed and was completely free to use.
In this article, I explain the process of setting up Google Analytics on a React project. Do you want to monitor the number of daily users on your website or some other useful metrics? Let's get right into it!
Prerequisites
Basic Knowledge of Javascript/React is required
A Google account
A React Application hosted online.
Setting up Google Analytics
Let's get into the nitty-gritty of the work.
First, ensure you have an accessible google account. A google account gives you access to a ton of free products by Google, including the one we'll be using in this tutorial i.e Google Analytics. If you do not have one, kindly click on this link.
Go to Google Analytics page. You should see a page like this. Click on
Start Measuringto get started.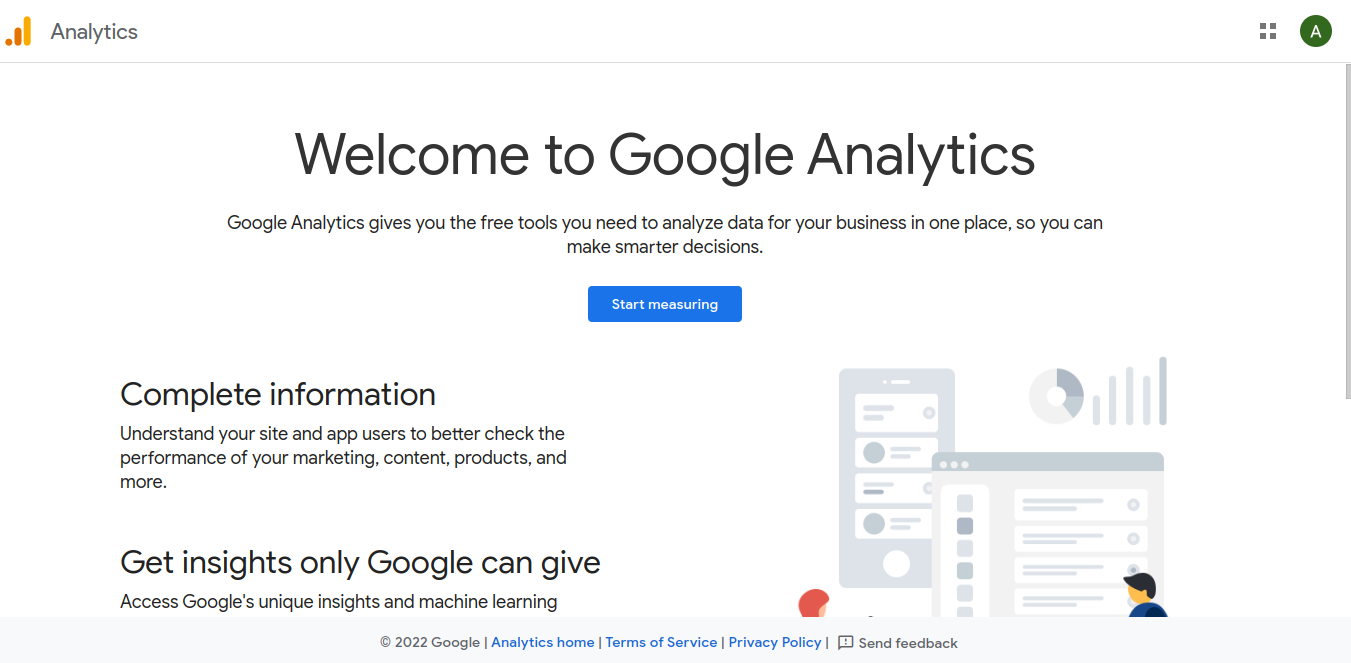
Enter a suitable account name, fill in some other data and click on the
Nextbutton to get started.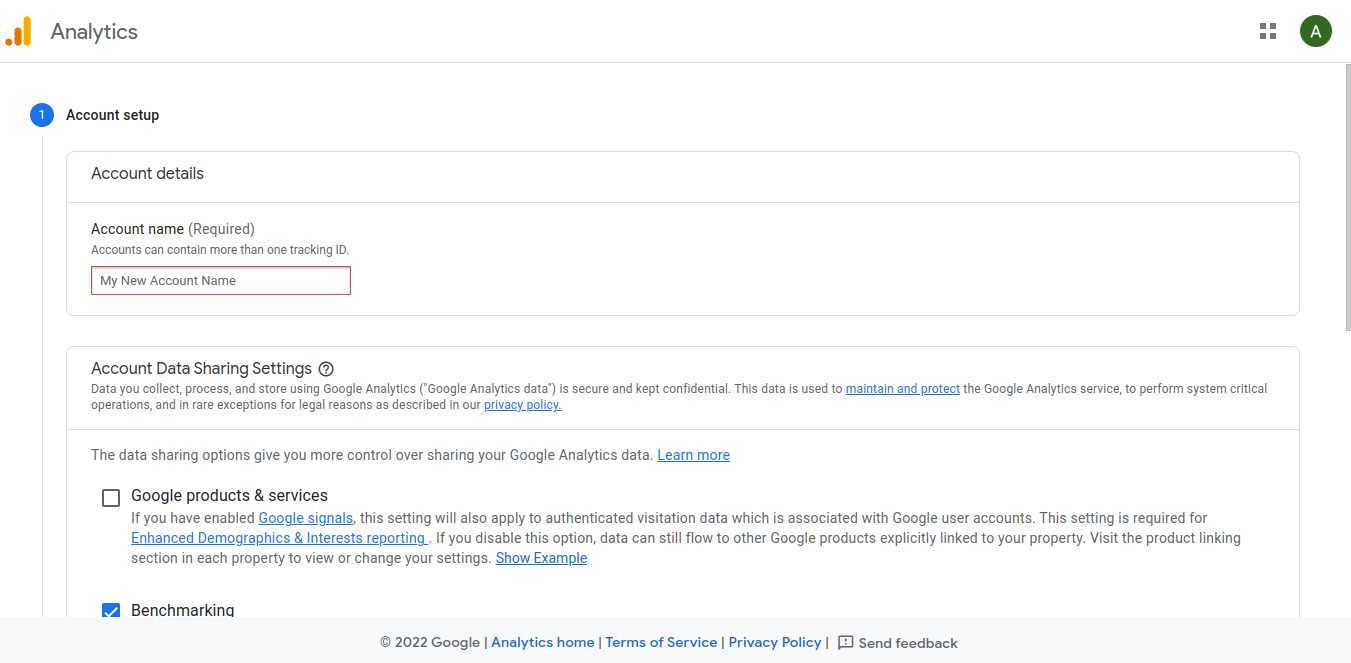
You should now have access to your user dashboard, it's time to get things started. If you didn't previously create a Property, click on
Create Propertyand give a suitable name e.g "My Business website". Also, choose a suitable time zone.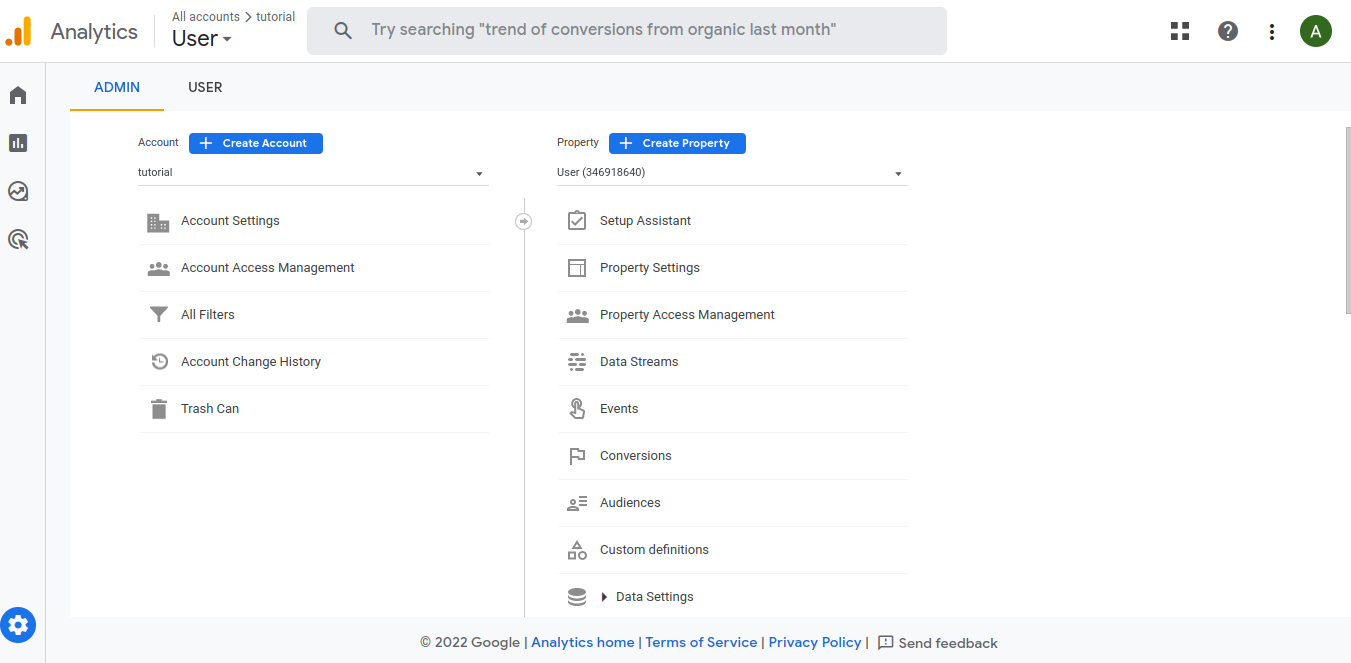
Next, Click on
Data Streamsand selectWebsince we are dealing with a React app in this tutorial.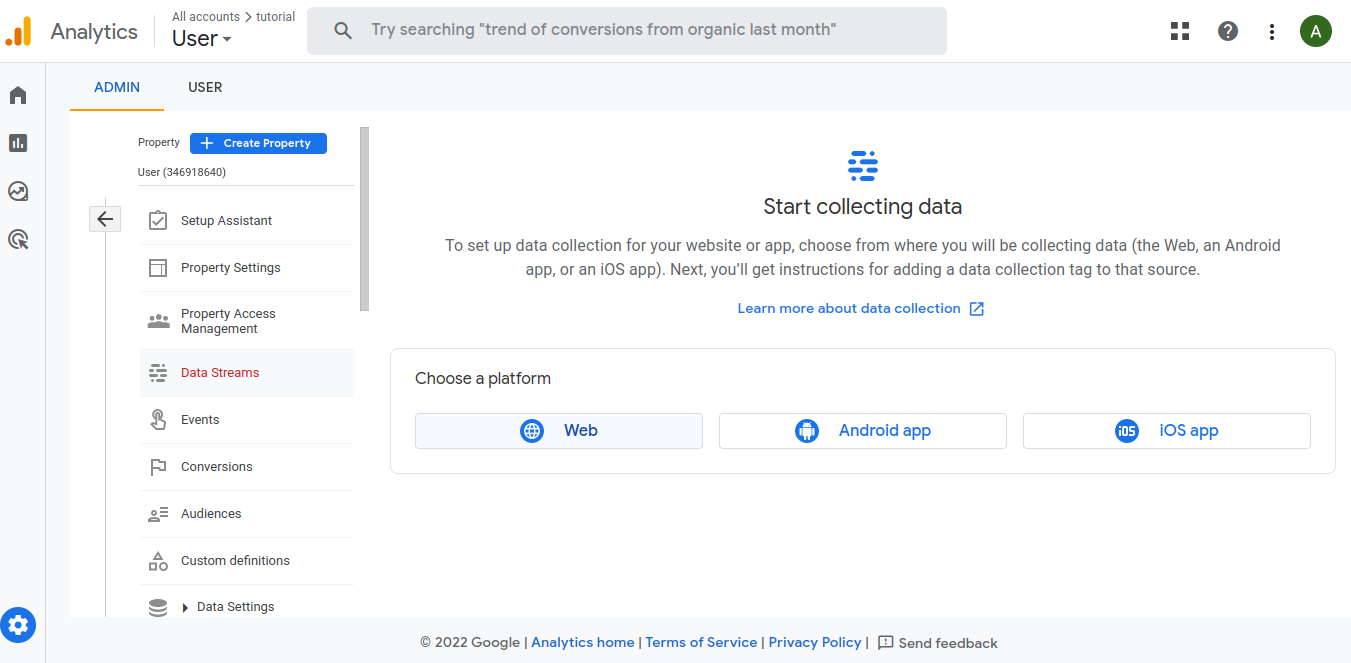
Enter the URL of the website you want to monitor and a stream name (just add a suitable name). You can also enable
Enhanced Measurementwhich is recommended.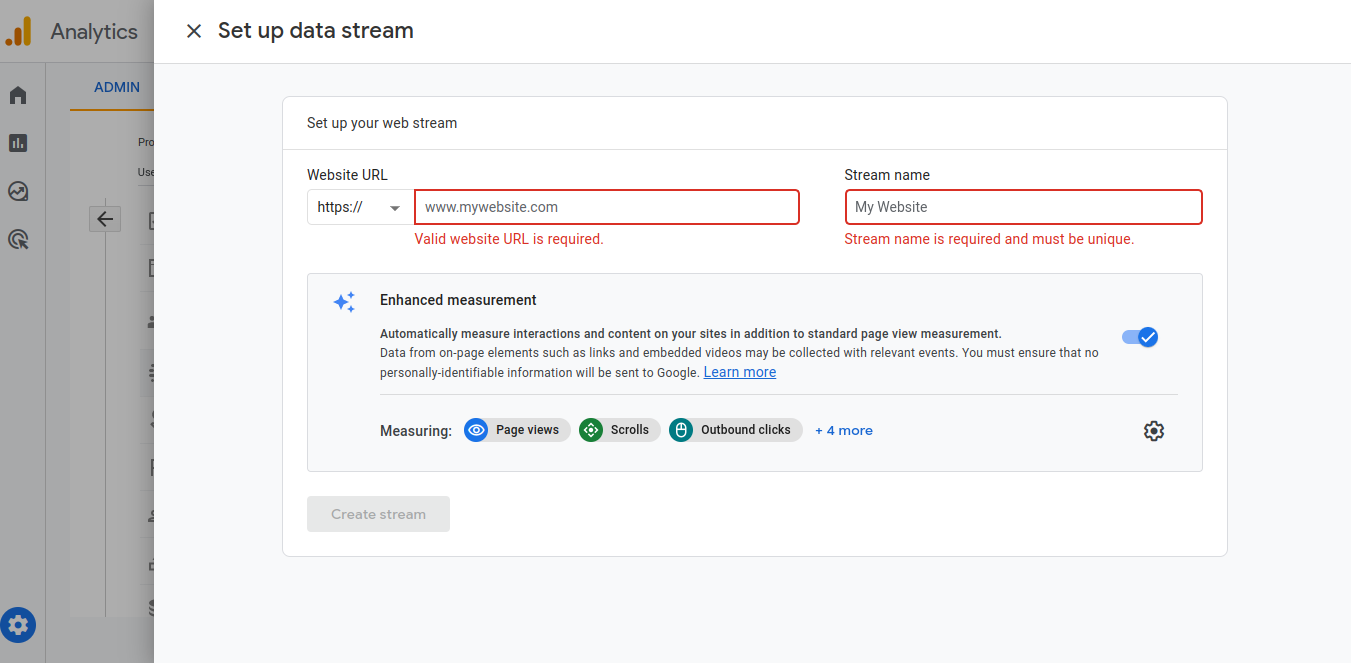
You should have a similar view as the one below. You can Proceed to
View Tag Instructionsto view your tag. Take note of your Measurement ID.
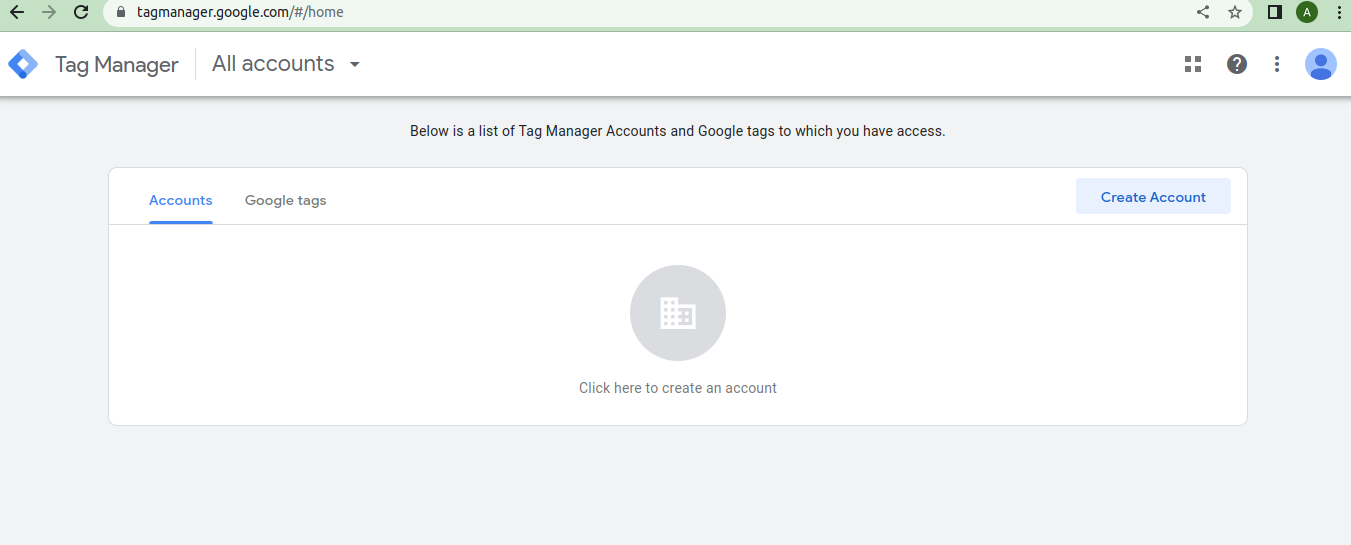
Now, let us incorporate Tag Manager which helps us to use the tag on our website without much stress. Click on this link and create a new account.
After the successful creation of an account, you should now have access to your Google Tag Manager snippet.
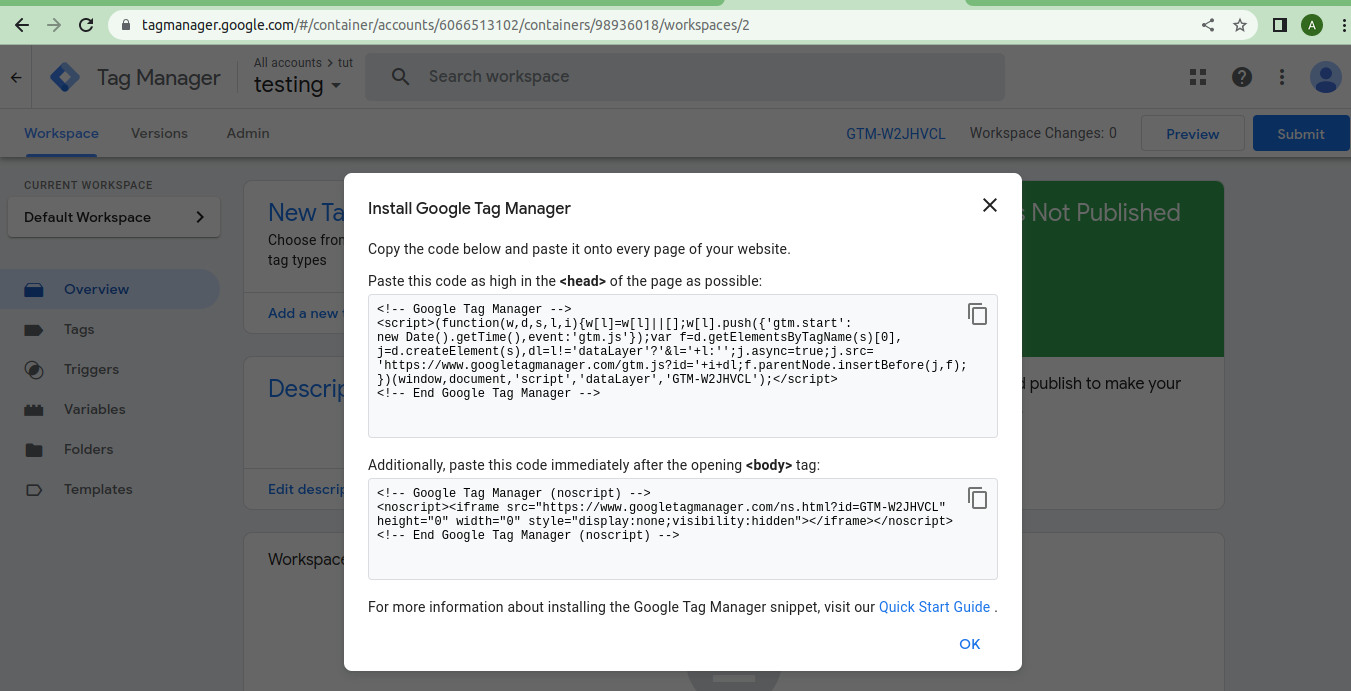
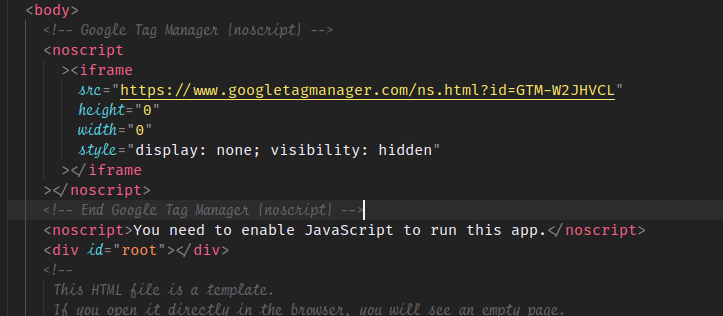
In your React Project, Paste the code into the Public
index.htmlfile since it is served on every render of React. Push your code and ensure it is deployed successfully.
Back to Tag Manager to wrap things up. We're almost there :) Click on Tags on your Tag Manager Dashboard and create a new tag. Name your tag and configure it appropriately.
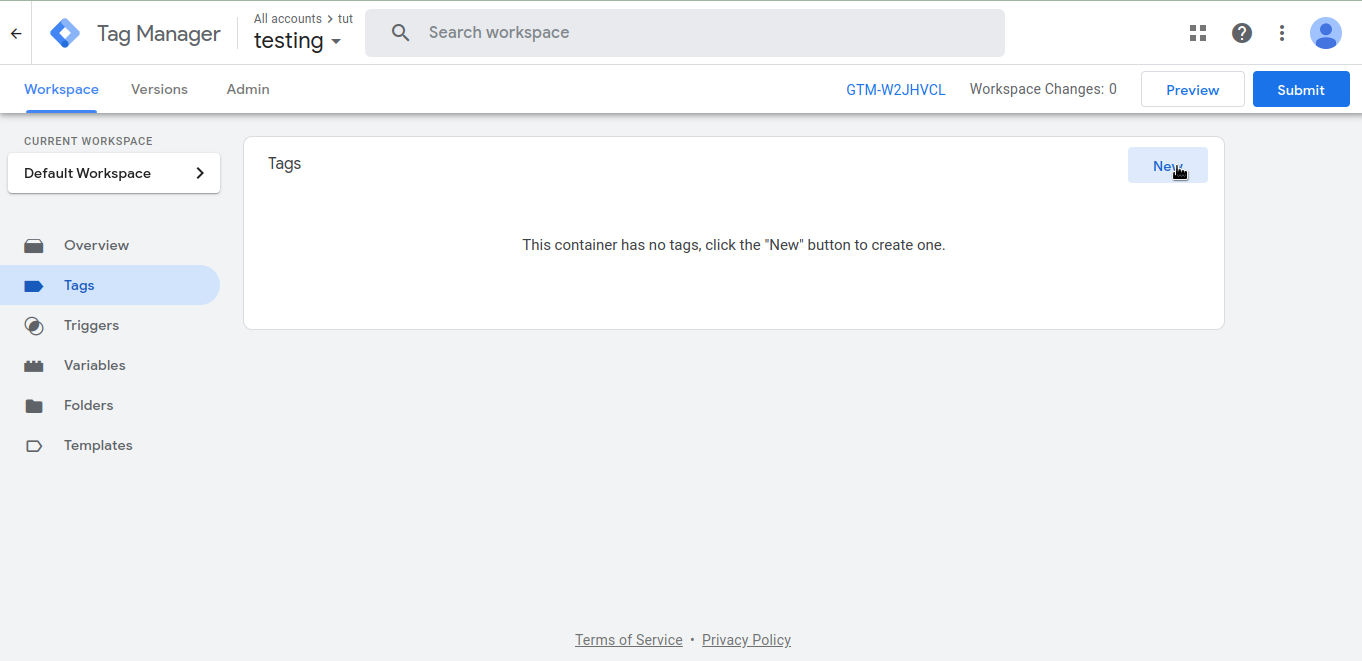
Tag Configuration: Rename the tag and select
Google Analytics GA4 ConfigurationTriggering: These are events that fire or block the tag. You can add as many as you'd like, and even configure custom triggers.
Now it's time to preview whether our tags work. Click on
Preview, enter your website URL, and Connect. A new tab is opened automatically to preview your website.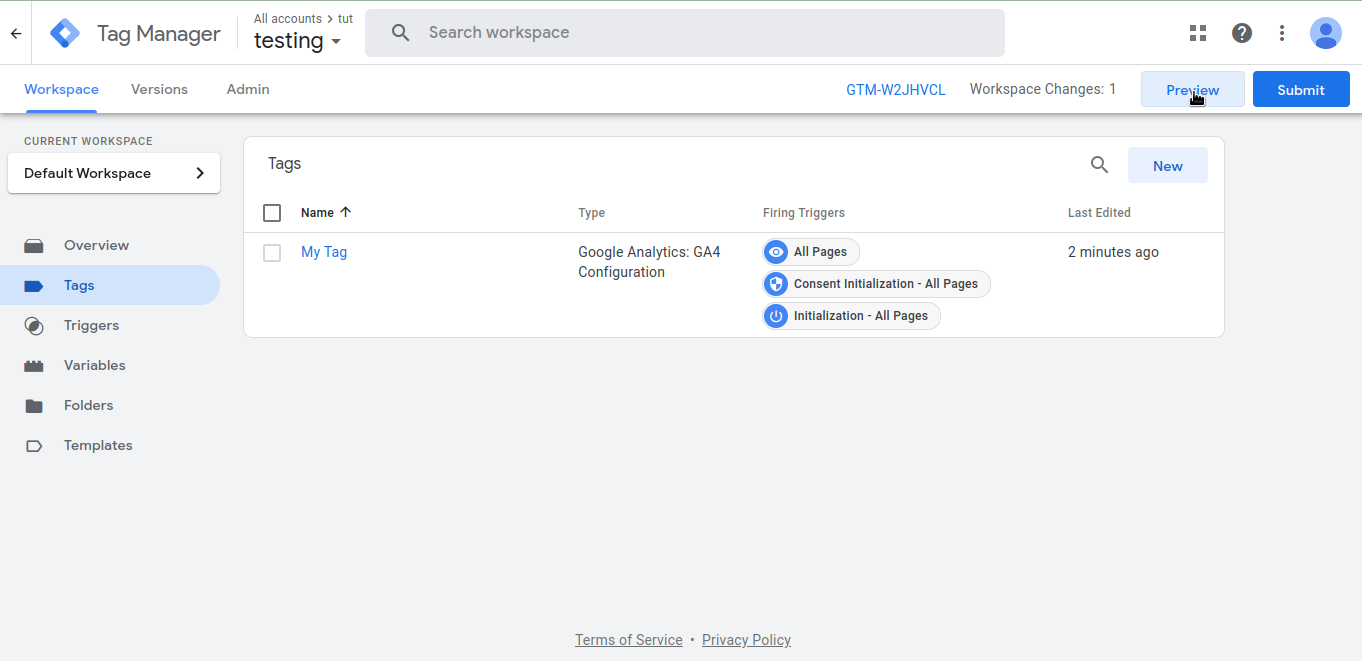
If the Preview was successful, you should have a pop-up beneath your screen. Click on
finishto complete the preview.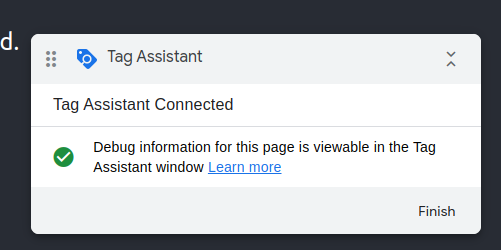
Finally, we publish our tag by clicking on
Submitin the previous tab.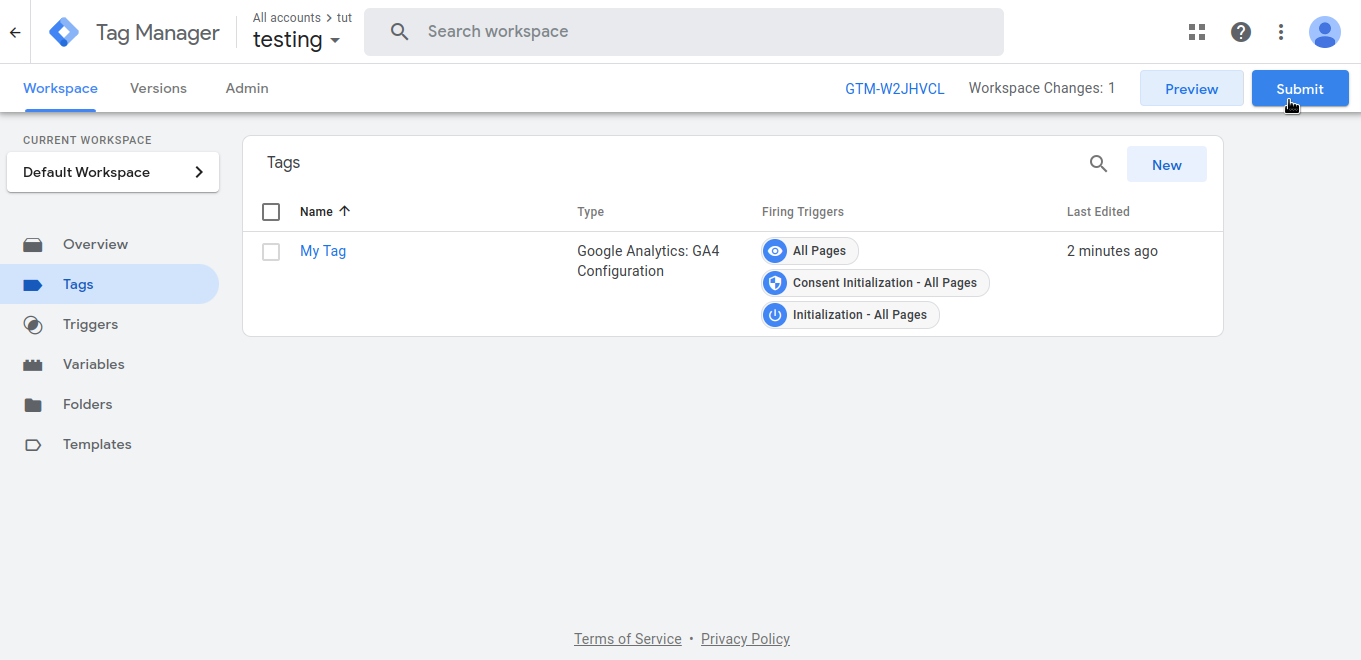
Input a descriptive name and a suitable message. Then click on
Publish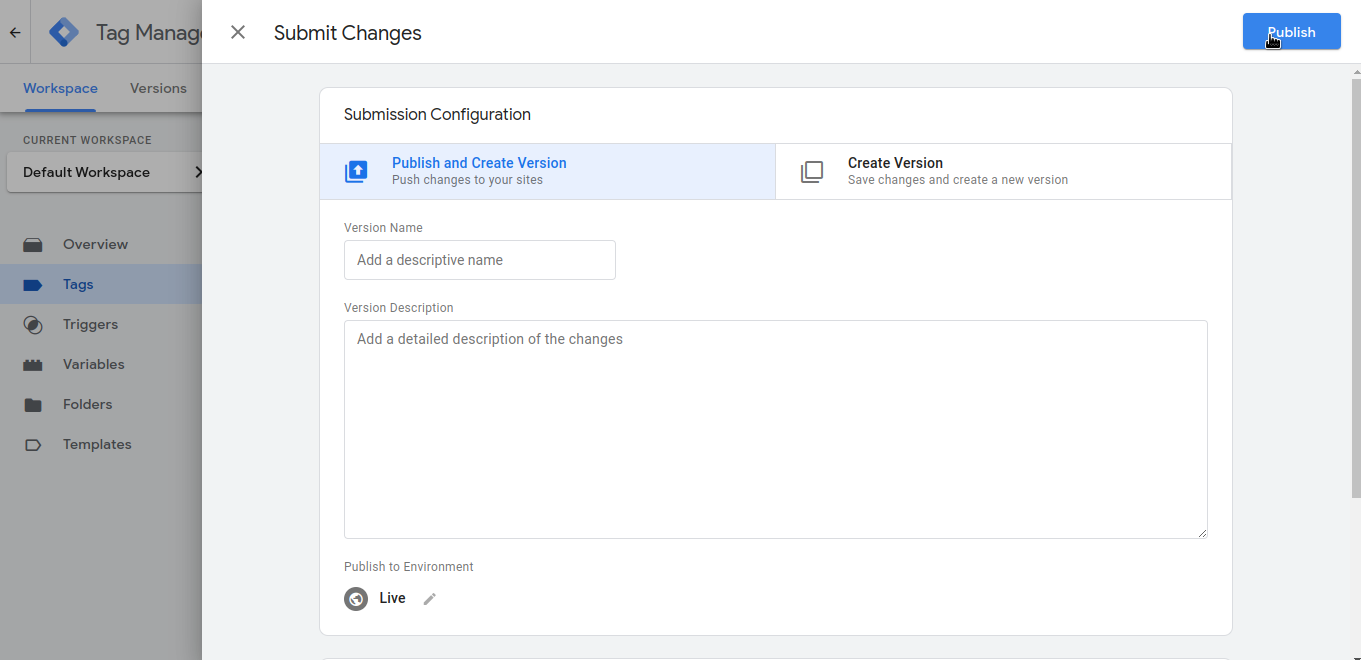
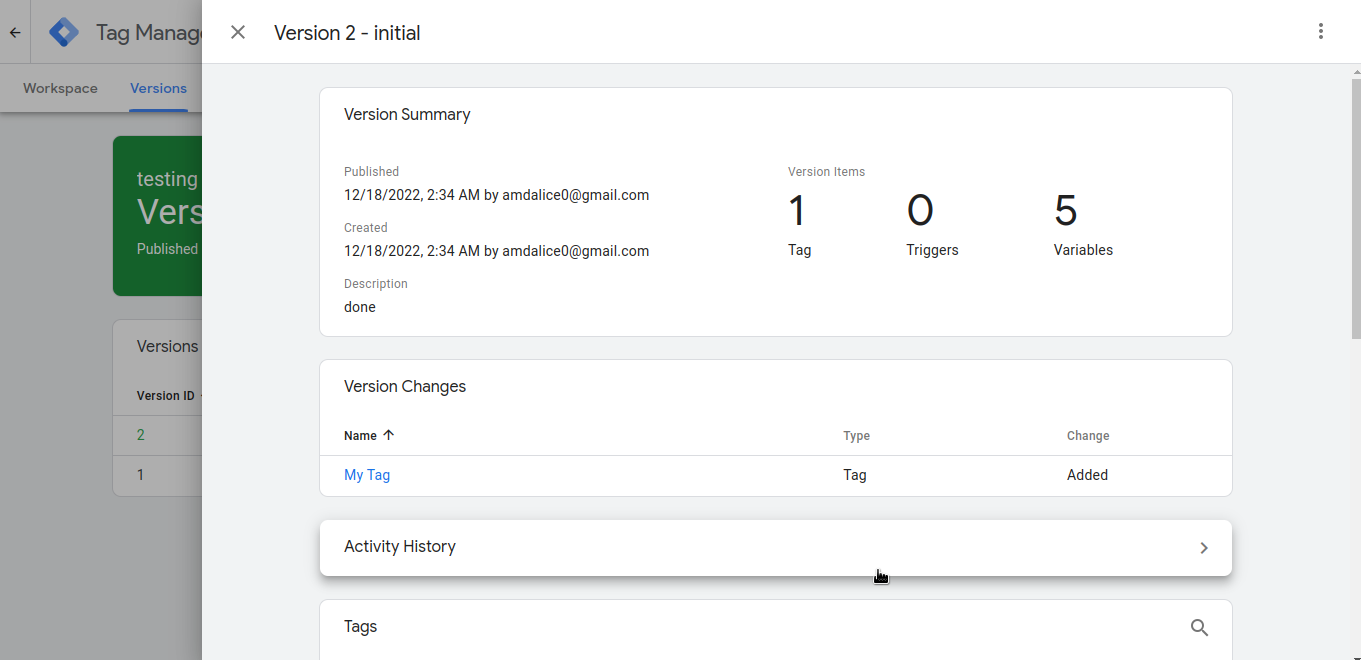
If successful, you should have a page to confirm your configurations.
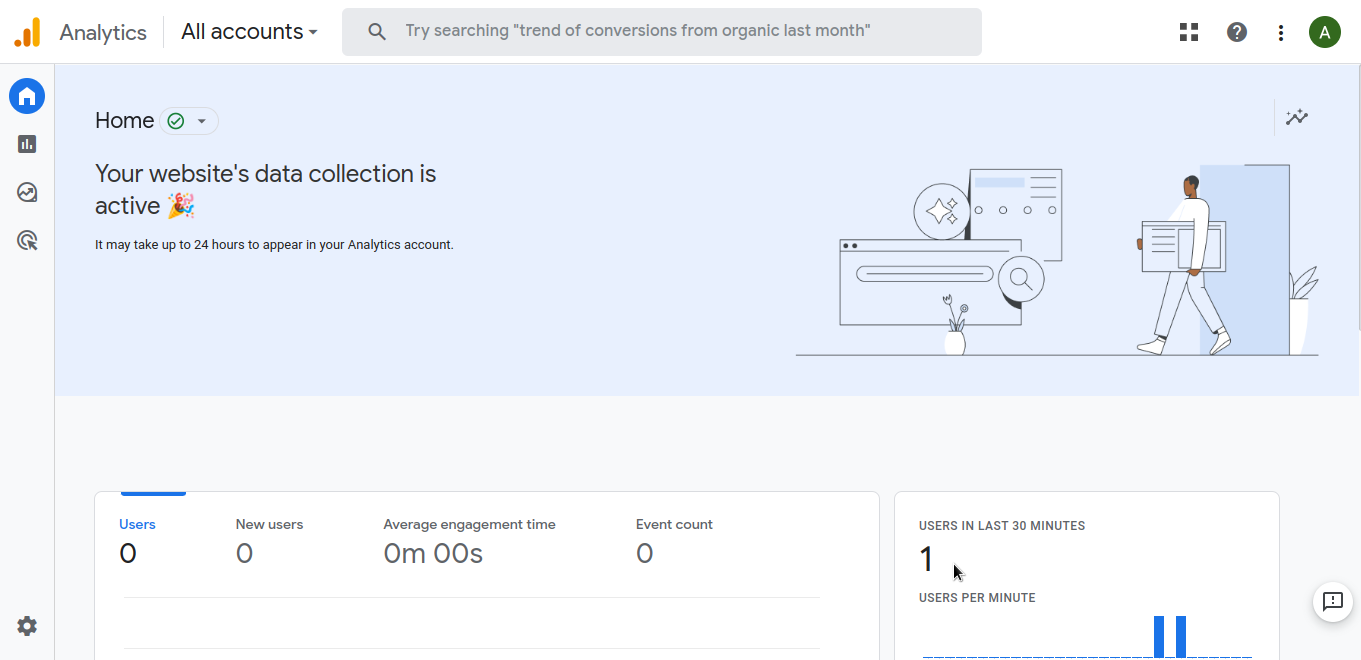
Finally, to test that our analytics works. We go back to our Google Analytics Dashboard and voila! We see that we have had one user in the past 30 minutes.
Conclusion
That was such a long process, but it was worth it. Now, we can monitor user activity on our website and improve performance based on the feedback we get.
If you encountered any problems following this article or you have suggestions, please feel free to drop a comment in the section below or Reach out to me on Twitter. I will be glad to reply your message. Cheers and keep hacking.


